
It's Theme Day Thursday at My Cricut Craft Room and today's theme is
PETS
If you came from My Cricut Craft Room you are in the right spot. If not, be sure to go there to see ALL of the creations made by Erica's team.
I chose to do a layout of my grand daughter's new puppy, Bella. Her fiance surprised her with Bella for her birthday. She's a Morkie, which is a Maltese and a Yorkie. She is so lovable!

The quote on the tag says~
Whoever said money can't buy happiness forgot about puppies! -unknown
Carts I used:
Mother's Day Bouquet ~ Flowers
Gypsey Wanderings ~ Butterfly
Life's A Party ~ Diva
Ornamental Iron ~ Photo Corners
Bloom ~ Label
Cuts:
Shapes numbered from handbook
Flowers~
#2 2.22-2.06
#3 3.00-2.76
#34 2.25-2.06
#34 1.09-1.00
Butterfly~
#14 1.38-1.94
Diva~
#43 pg 63 keypad 4.62-2.65
Photocorners~
#36 1.72-5.94
Tag~
#56 small 4.43-1.94
medium 5.34-2.29
large 5.89-2.53
How I Did It~

I used Color Box Pigment Brush Pad to shade then I shaped the petals.

Then I punched a hole in the center of each layer.

Next I layered the petals.

Finished flower with 16 mm i-top brad using patterned paper~
I used Stella and Rose by Jen Allyson and Lost and Found by My Mind's Eye.
Now I'm going to share my newest tool , the i-top. I'm loving this tool!

First I punched out exactly what I wanted my topper to be.

Next I lightly misted a paper towel with water using the mini mister and placed the topper in between briefly. ( I saw this tip online...sorry I don't remember where.) It is supposed to give a smoother look on the brad. I was happy with the results but I have nothing to compare because I used the mist every time. Be sure not to over mist though.

Place Brad Daddy Shell onto metal head then center topper onto Brad Daddy Shell.
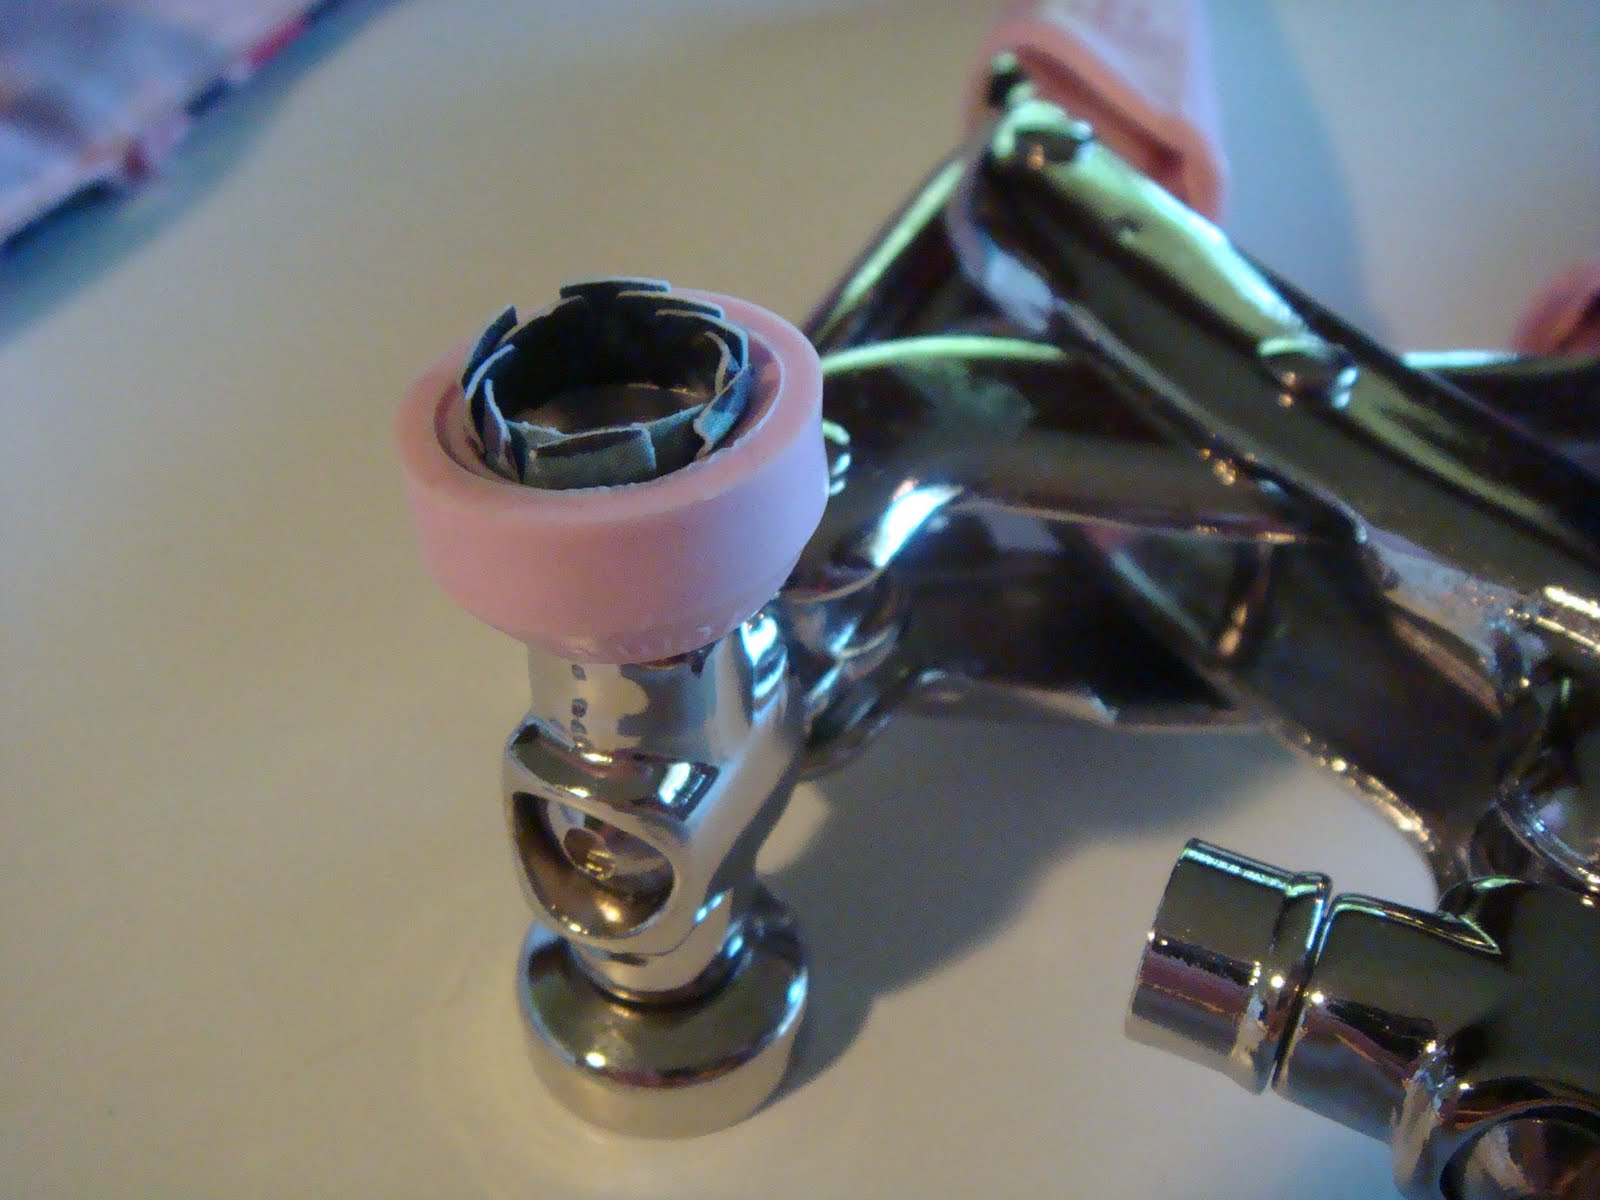
Gently squeeze handles pressing Brad Daddy Shell and Topper into Rubber Head. Pinch sides of rubber while you hold.
Rotate Rubber Head and flatten down tabs. (see below)


Turn tool over and insert a Brad Daddy Base into Metal Head.
Align heads and gently squeeze. Rotate out and peel back Rubber Head.

Finished flower with i-top brad.
Last on my instructions with this tool was a disclaimer~
Warning: this much fun may be habit forming!
LOL! It is!

I never thought I would use Ornamental Iron but when I saw it was retiring I thought I better get it.
I'm so glad I did! The cut is amazing!
I don't think these were intended for corners but this is how I placed them. I think it compliments the iron fence in the picture.

Finally I wanted to use this paper wire and ended up making these...well, we'll call them swirls.
I pinched the end and just started winding them up between my thumb and forefinger. When I got to the size I wanted I punched a circle out of kraft cardstock and glued it to the back leaving a trail of the paper wire. Instant...'swirls'!
Thanks for stopping by and I hope you are having a happy craft day...if not a happy pets day!


Love Love Love the Flowers! Thanks so much for the tutorial! You're the best Connie!!
ReplyDeleteBlessings,
Tina
I LOVE this whole post!! The layout is great, the turorial is great and the flowers are great!!! Thanks so much for linking your blog in my link up party!! I am your newest follower! :)
ReplyDeleteCandace
scrappin2littleprincesses.blogspot.com
This is so beautiful!! I just got the Mother's day bouquet and I'm really excited to try it! Thanks for the detail on this card! Love it!! Christina
ReplyDeleteHi! Stopping by from Candace's link up party and now following! Wow, those flowers are amazing! I love that you took a picture to show each step.
ReplyDeleteCandace~ thank you for the lovely comment and for creating your 'link up party' blog. What a great chance to meet other bloggers and share!
ReplyDeleteTina~ You're the sweetest! Thank you!
Candace, Rachael and cema~ Thanks for the sweet comments and following, it's so appreciated!
What a wonderful LO... and the puppy is so cute... thank you for sharing this wonderful LO
ReplyDeleteConnie!! So wonderfully well done! and you are keeping an I-Top on my wish list---- love your work.
ReplyDeleteHi Connie, awesome layout and tutorial. I'm popping in from Candace's link Up Party and a new follower. ~Shen
ReplyDeleteThanks for sharing these great ideas! I'm stopping by from Candace's link up party and am a new follower. Hope you will stop over at my blog too.
ReplyDeleteRobin
www.scrapandchat.blogspot.com
Beautiful layout and the flowers are just fabulous! Just became a follower after finding you on the Summer Link-Up Party at Scrappin' 2 Little Princesses!
ReplyDeletehttp://nonnascraftcorner.blogspot.com/
Beautiful layout!! I'm a new follower!!
ReplyDeleteI don't even know where to start on this! First adorable puppy :) Now for the rest of the layout I can't even describe the love. The colors are perfect and I love the flowers and your I Top tutorial. I need to get one of those like tomorrow! Thanks for sharing!
ReplyDeleteJill
http://craftwithanangel.blogspot.com/
gorgeous layout. i love it. and great tut on the i-top. i may be coming back to refer to it again til i get it right.
ReplyDeleteGood Job! Love the layout!
ReplyDeleteHi Miss Connie....:O) Your layout is so beautifully done ~ colors and embellishments! I can see why you were so excited about sharing it. Your flowers really caught my attention. I think that I would like to try my hand at that and your instructions will come in handy! I've seen a few other things that you have done and can see that you have an eye for art. The card that you made (below) is one of my favorites! So glad you shared....:O)
ReplyDeleteLOVE THIS! BEAUTIFUL!! I am looking forward to your future creativity! I am a follower coming from the Link Up party and would be honored if you would check out my blog and do the same! http://acreativejourneywithmelissa.blogspot.com/
ReplyDeleteWow Connie - you did a great job on this page! And what I love about this blog post are your tutorials! FANTASTIC!!! Have a great weekend lady! Aloha, Linda
ReplyDeleteThis comment has been removed by the author.
ReplyDeleteFlowers are gorgeous!
ReplyDeleteWOW!! What a great blog. I can't wait to try and make some of these flowers. It's been awhile sence I've stopped by, but I wanted to say thanks for participating int he All About the Guys blog hop over the weekend.
ReplyDeletehttp://cuttinandstampin.blogspot.com
Tammy Smith
A Muse Studio independent distributor
www.cuttinandstampin.com