Welcome to day 2 of My Cricut Craft Room 100 Cartridge
Blog Hop!
If you came from our lovely host
Erica's blog you are in the right place!
I have the pleasure to kick off day 2 of Erica's monthly 100 cartridge blog hop. I hope all of you were able to hop yesterday and see the wonderful projects the team had created. If you're back for more, we're so happy to have you!
I'm so happy for fall! It means fabulous fall colors! (somewhere...I live in Florida) It means football
games, frightening Halloween partys and last but not least (for me), not so bad hair days!!!! Notice I didn't say good, but I'll take any improvement!
To make up for the fall colors that elude us in Florida I made a project that includes the beautiful
colors.
I found this frame at Goodwill and the center board was fuschia with a bright yellow, stretchy rubber
band to make a memo board. So for $2.49 I brought it home and took it apart, covered it with a beautiful patterned paper, poked holes through the original ones and restrung it with 1/8" white elastic
that I colored with chalk ink to match. I then added the mixture of flowers.
Carts~ Art Philosophy and Flower Shoppe
The Daisy was made with Flower Shoppe a Cricut projects cart.
If you'll notice the handbook shows you the order of the layers and the finished product.
You can see the each layer pointed out with a red dot on the overlay in a vertical row.
<daisy3> is the bottom layer and you cut 10 of these.
All layers cut at 3''
I didn't shape or ink my daisy...I liked the crisp clean look.
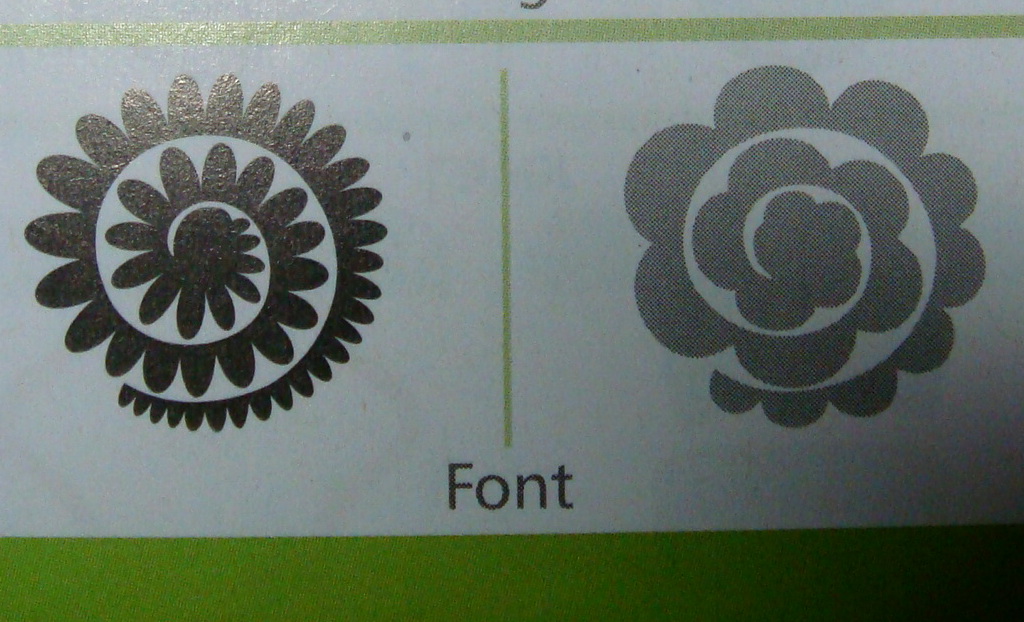
There are six different swirl flowers on the Cricut Art Philosophy Cartridge that is sold by
Close To My Heart. I soooo recommend this cartridge!
The cuts are a spiral in different shapes.
Here's a not so great picture of two of them.
There are two each on pages 68,69, and 70
Font/Shift and no shift
Cut at 3''
Patterned paper is Basic Grey, Mellow
Chalk Ink is Technique Tuesday
Post Card by Webster's Pages
My next project is a layout about my grandson, Christopher, playing Pop Warner football.
This is his first year and my only experience with football has been my daughter and granddaughter
as cheerleaders. I didn't watch the game...so when the opposing team tackeled my GS I freaked out when they didn't immediately get off of him! I'll learn! LOL!
Carts I used~ Word Collage
Elegant Edges
Birthday Bash
George and Basic Shapes
Sophisticated
Word Collage is another Cricut projects cart that I think I will use alot.
#14 on the overlay cut ~ 5.85-5.59 Black cardstock
I used hide/contour on the Gypsy to hide everything but the football and cut it out using a textured leather (feels like leather!) from The Paper Co.~ Franchise 12x12 Football
I found this at A.C. Moore
I did the same for DEFENSE using background color cardstock to indicate the position my grandson was playing. Yellow cardstock is Pearlescent Paper by ColorBok.
The background shape was made using Elegant Edges #44/shift cut~10.89-10.41
Paper is Simple Grid/Black by Luxe Designs.
TEAFORD using Birthday Bash cut~3/4"
Stars using Sophisticated #41 Font feature cut~2.74-0.88 (yellow cardstock)
Circle using George and Basic Shapes
#11 Shift~white cardstock
#11 Silhoutte/shift~black cardstock
#1 stamp I used Clear Stamps by Inkadinkado Jersey Numbers and Jersey Alphabet
For my third project I made Halloween treat bags. I had purchased the bags at Stampin Up while at CKU. I had never seen little bags like this before.
I made the three Halloween toppers on the left using
Autumn Celebrations.
The one on the right was made using Autumn Celebrations for the base but I designed the
'Angry Bird' (it's a game app!)
After seeing a red Angry Bird made by another crafter, I knew I had to make the black one
for my 5 year old grandson. He loved it!
#4 pg. 25 < Phrase> Black cut 2.87-3.00
Recommended to cut at least 3" in handbook
Circle <phrase/s> yellow cut~ 2.87-3.00
Pumpkin- <phrase/layer> orange cut~1.79-3.00
Base <phrase/layer/shift> cut 3.03-3.00
This is an example of how I used my gypsy and cut out the monster.
Happy Fall
Happy Game Days
Happy Halloween
and
Happy Crafting to everyone!
I hope I have inspired you to start creating for fall, if I have please let me know, and thank you for stopping by!
Enjoy the hop and if you get lost I have added the blog list:
Please see Commenting Below